Description
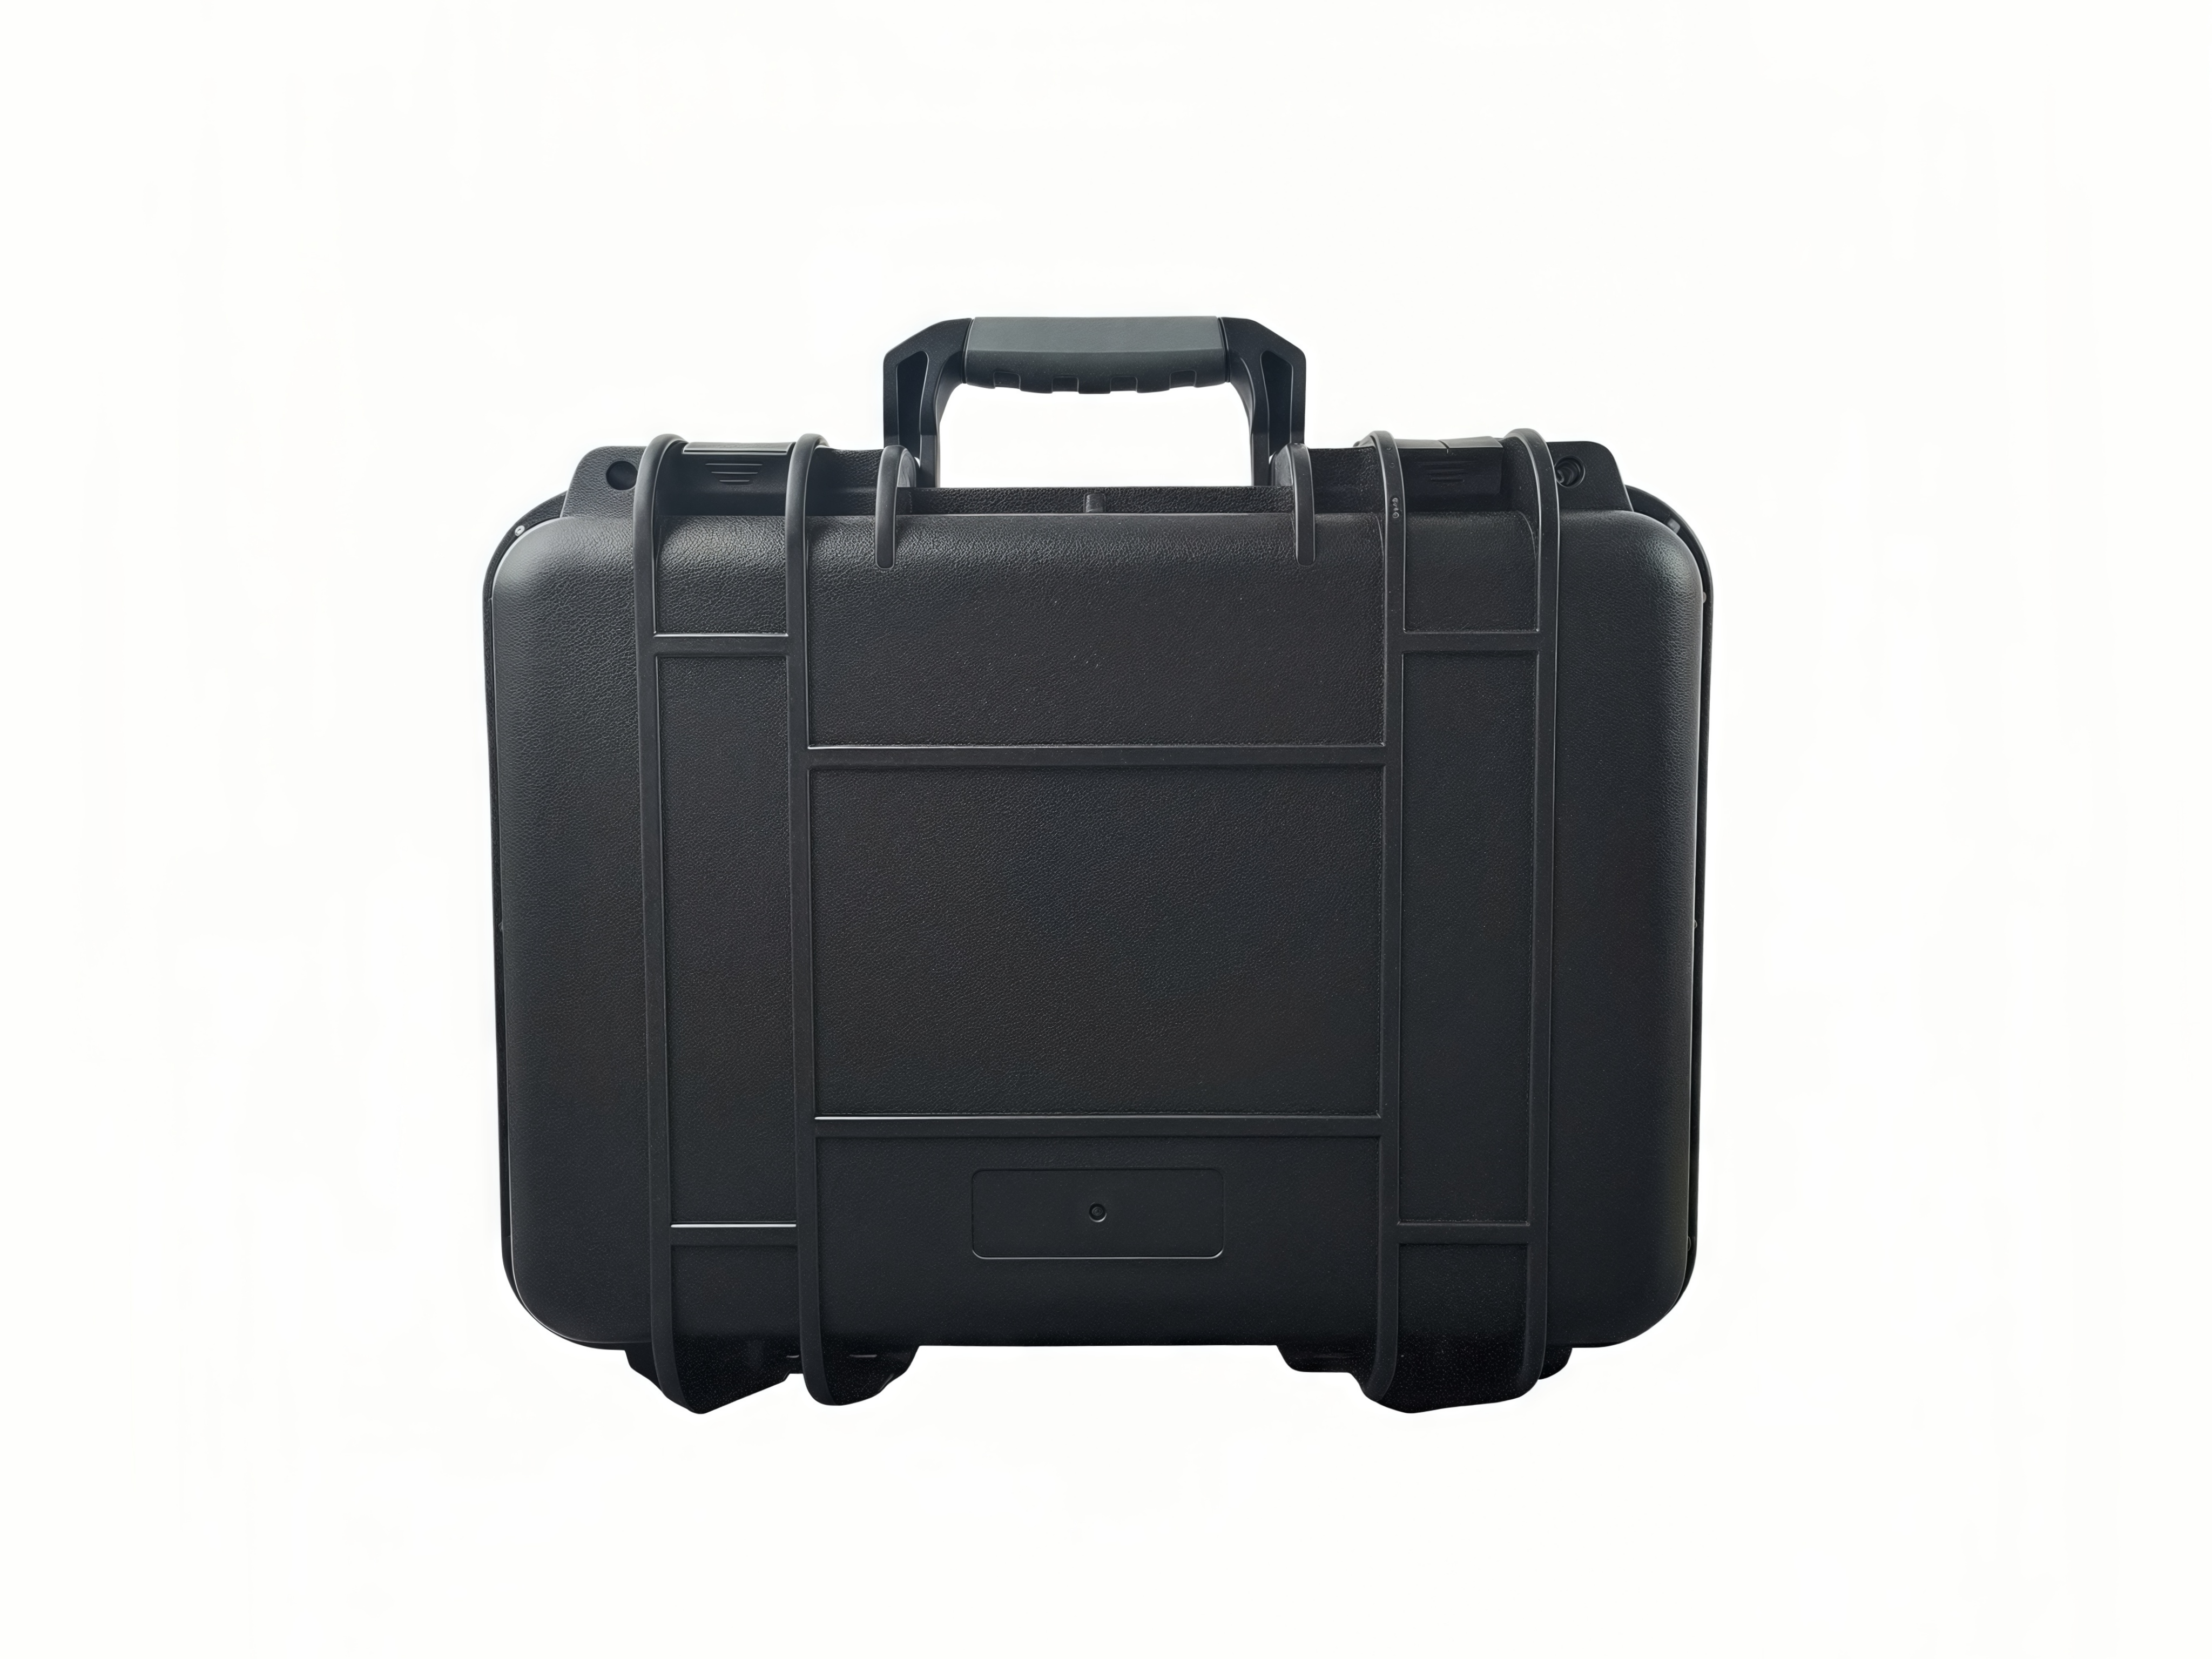
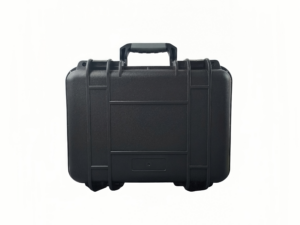
The JNCRADIO JCASE-891 is a custom-engineered, weather-resistant protective case designed specifically for the Yaesu FT-891 HF transceiver. Compact, durable, and field-ready, it offers reliable protection and enhanced usability for portable operations such as POTA, SOTA, Field Day, camping, or emergency communications.
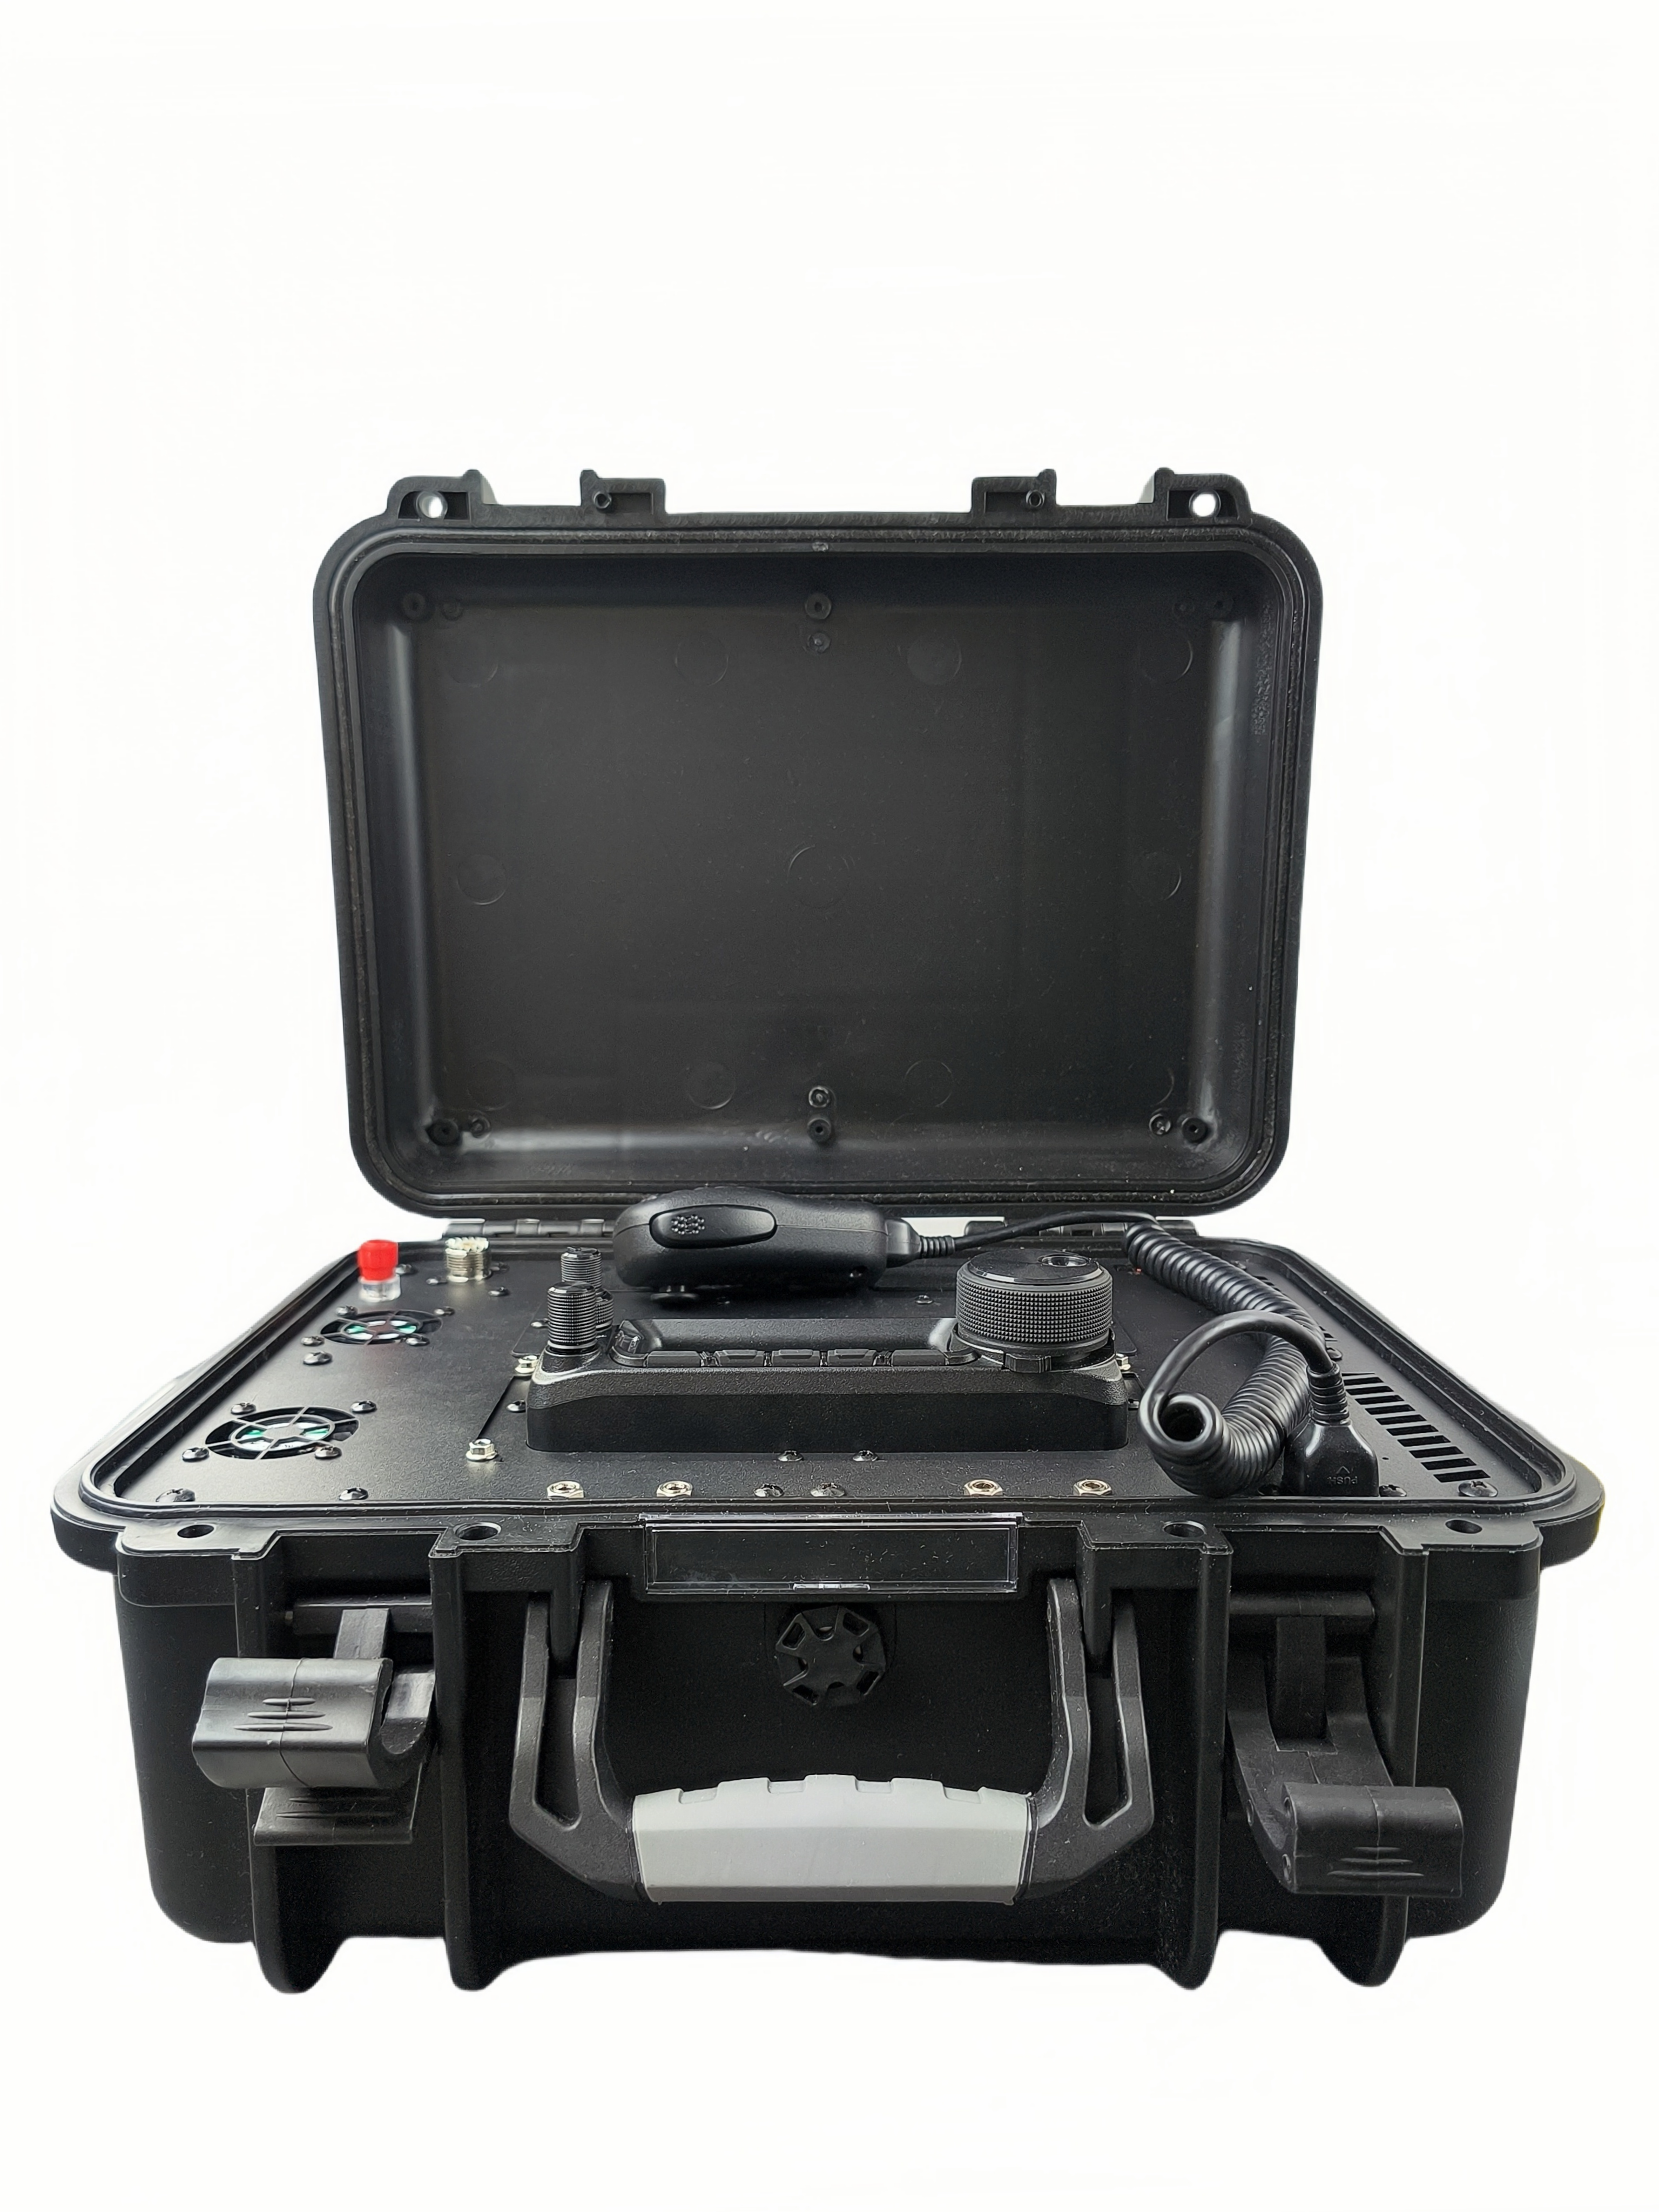
Built with a tough, impact-resistant hard shell, the JCASE-891 helps protect your transceiver from moisture, dust, and shock—while maintaining full access to all controls and connectors. Whether you’re activating a mountaintop or setting up a field station, this case keeps your FT-891 secure, accessible, and easy to operate.
A detailed overview and user experience can be found here.
Key Features
-
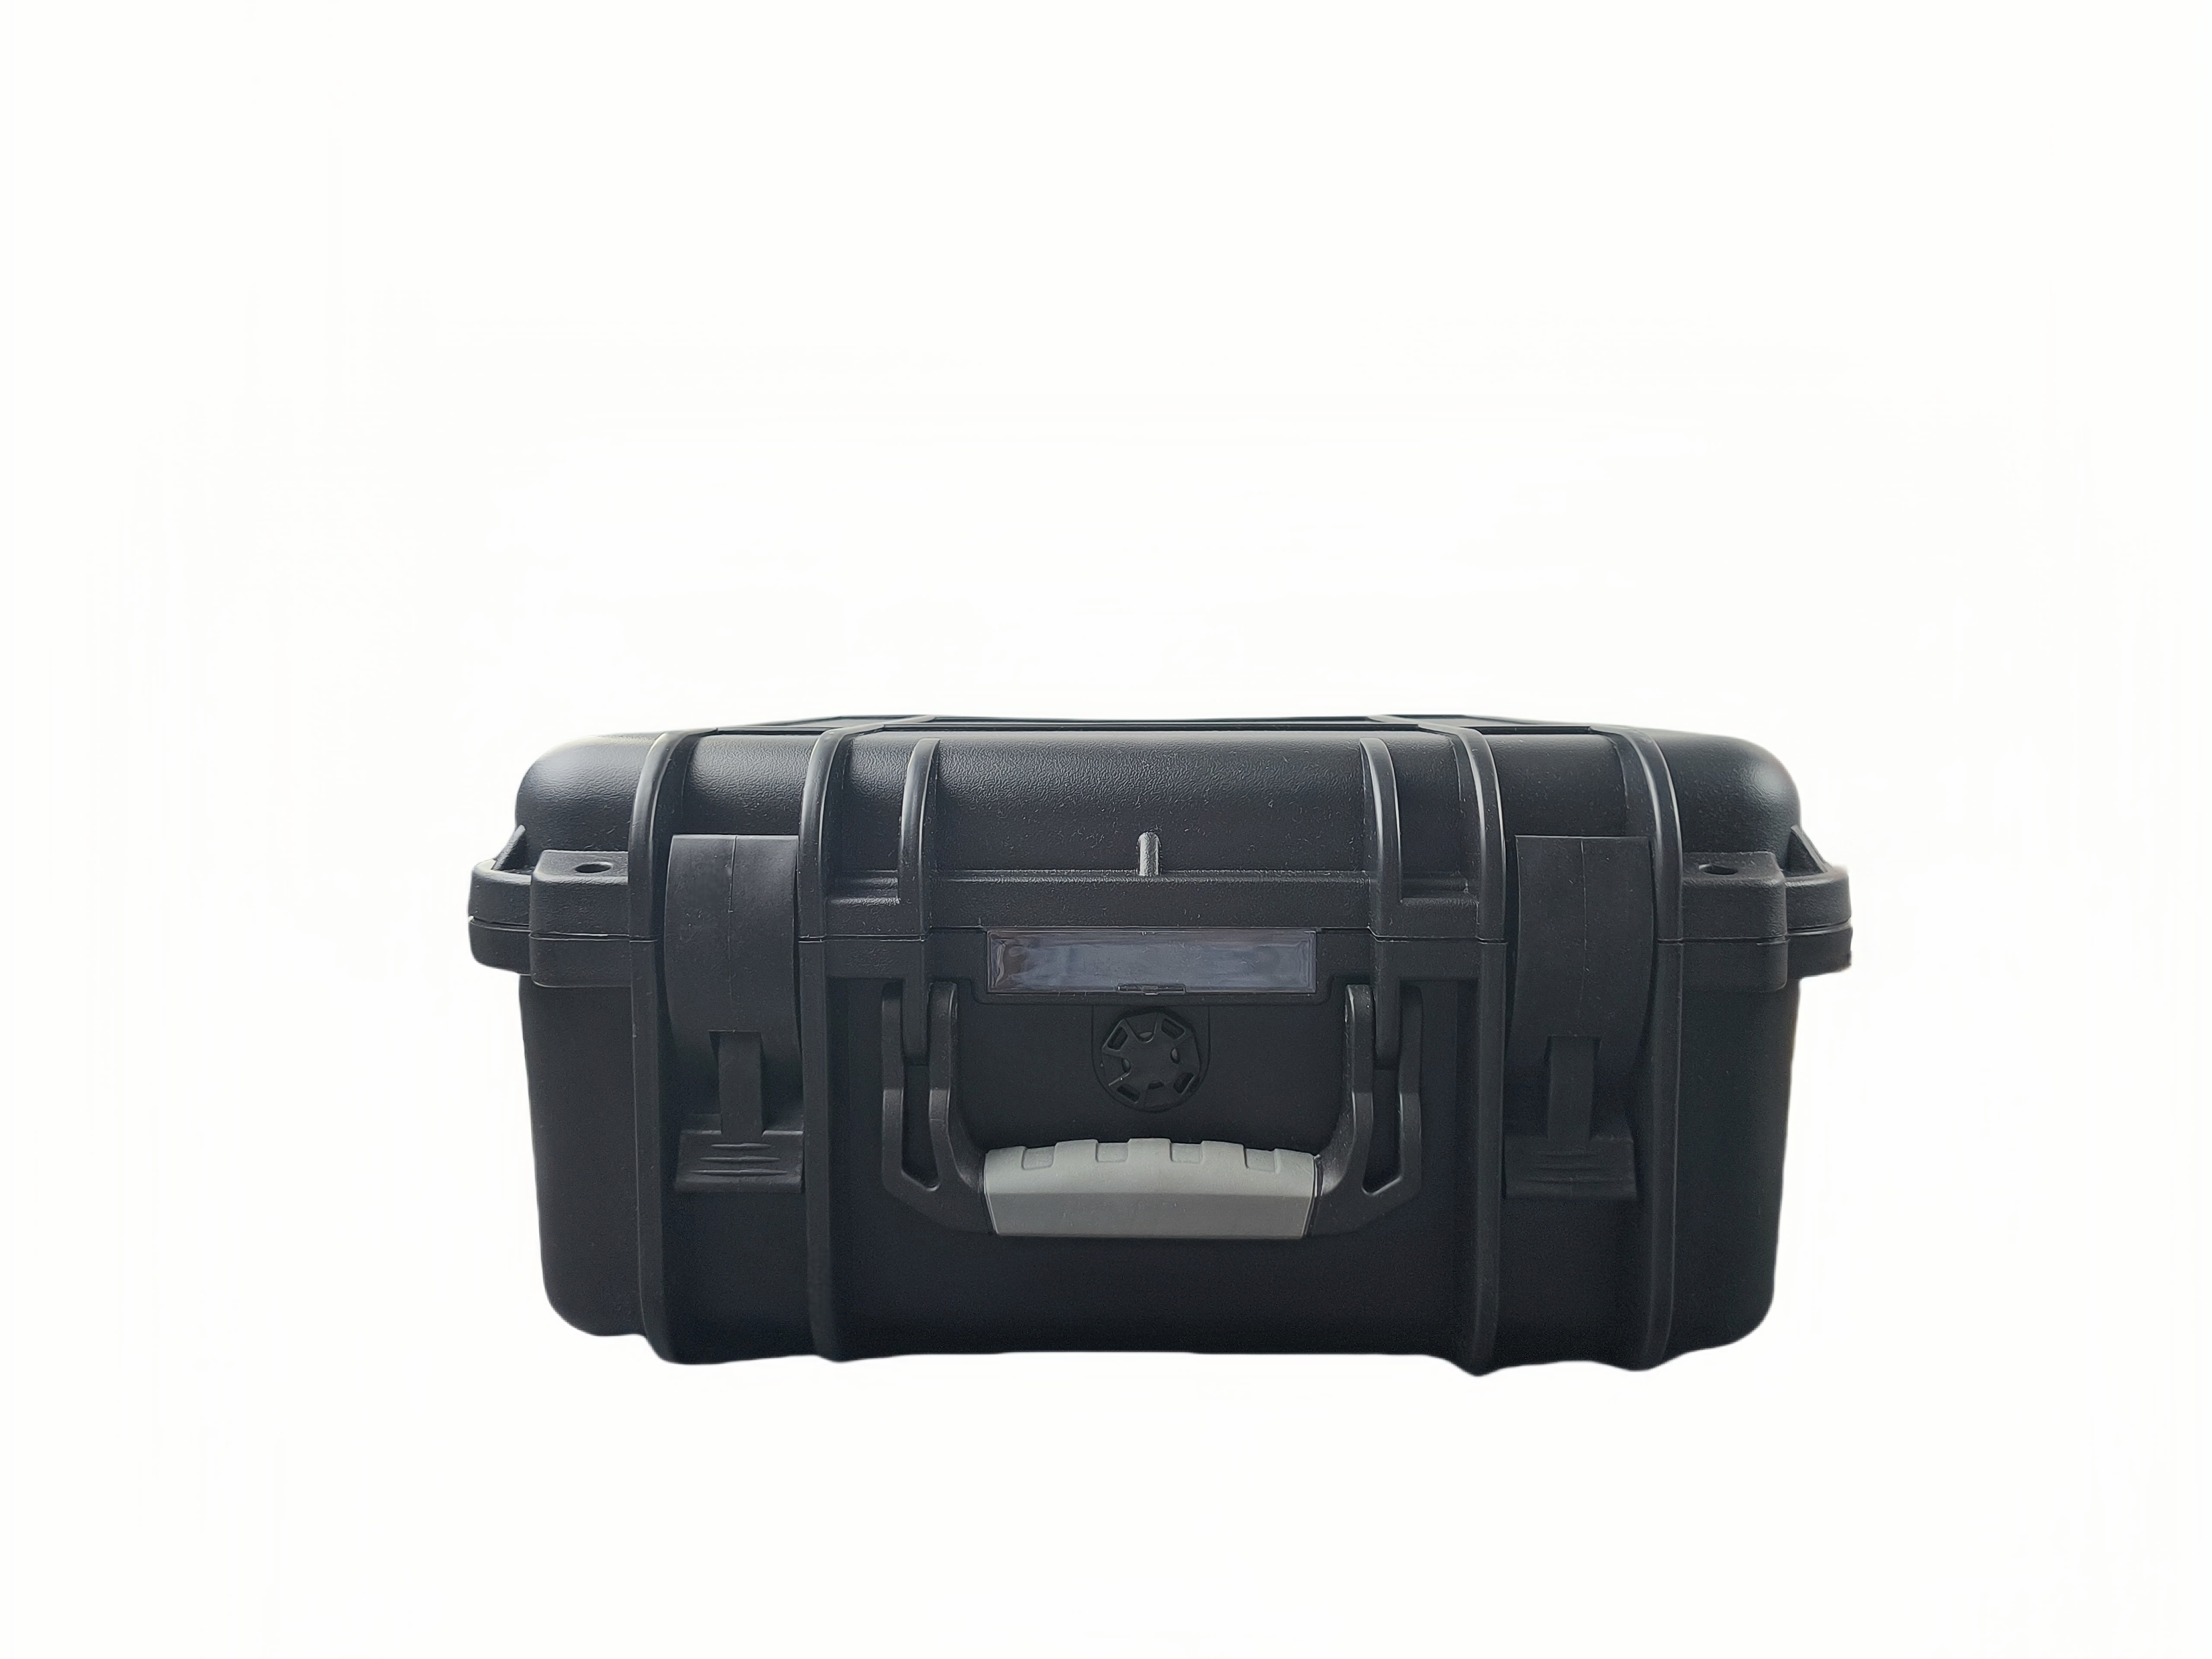
Rugged & Weatherproof ProtectionDesigned for outdoor operation, the JCASE-891 features a durable, impact-resistant hard shell that helps protect your FT-891 from rain, dust, and sunlight. Its weather-sealed construction ensures dependable performance for portable and field use.
-
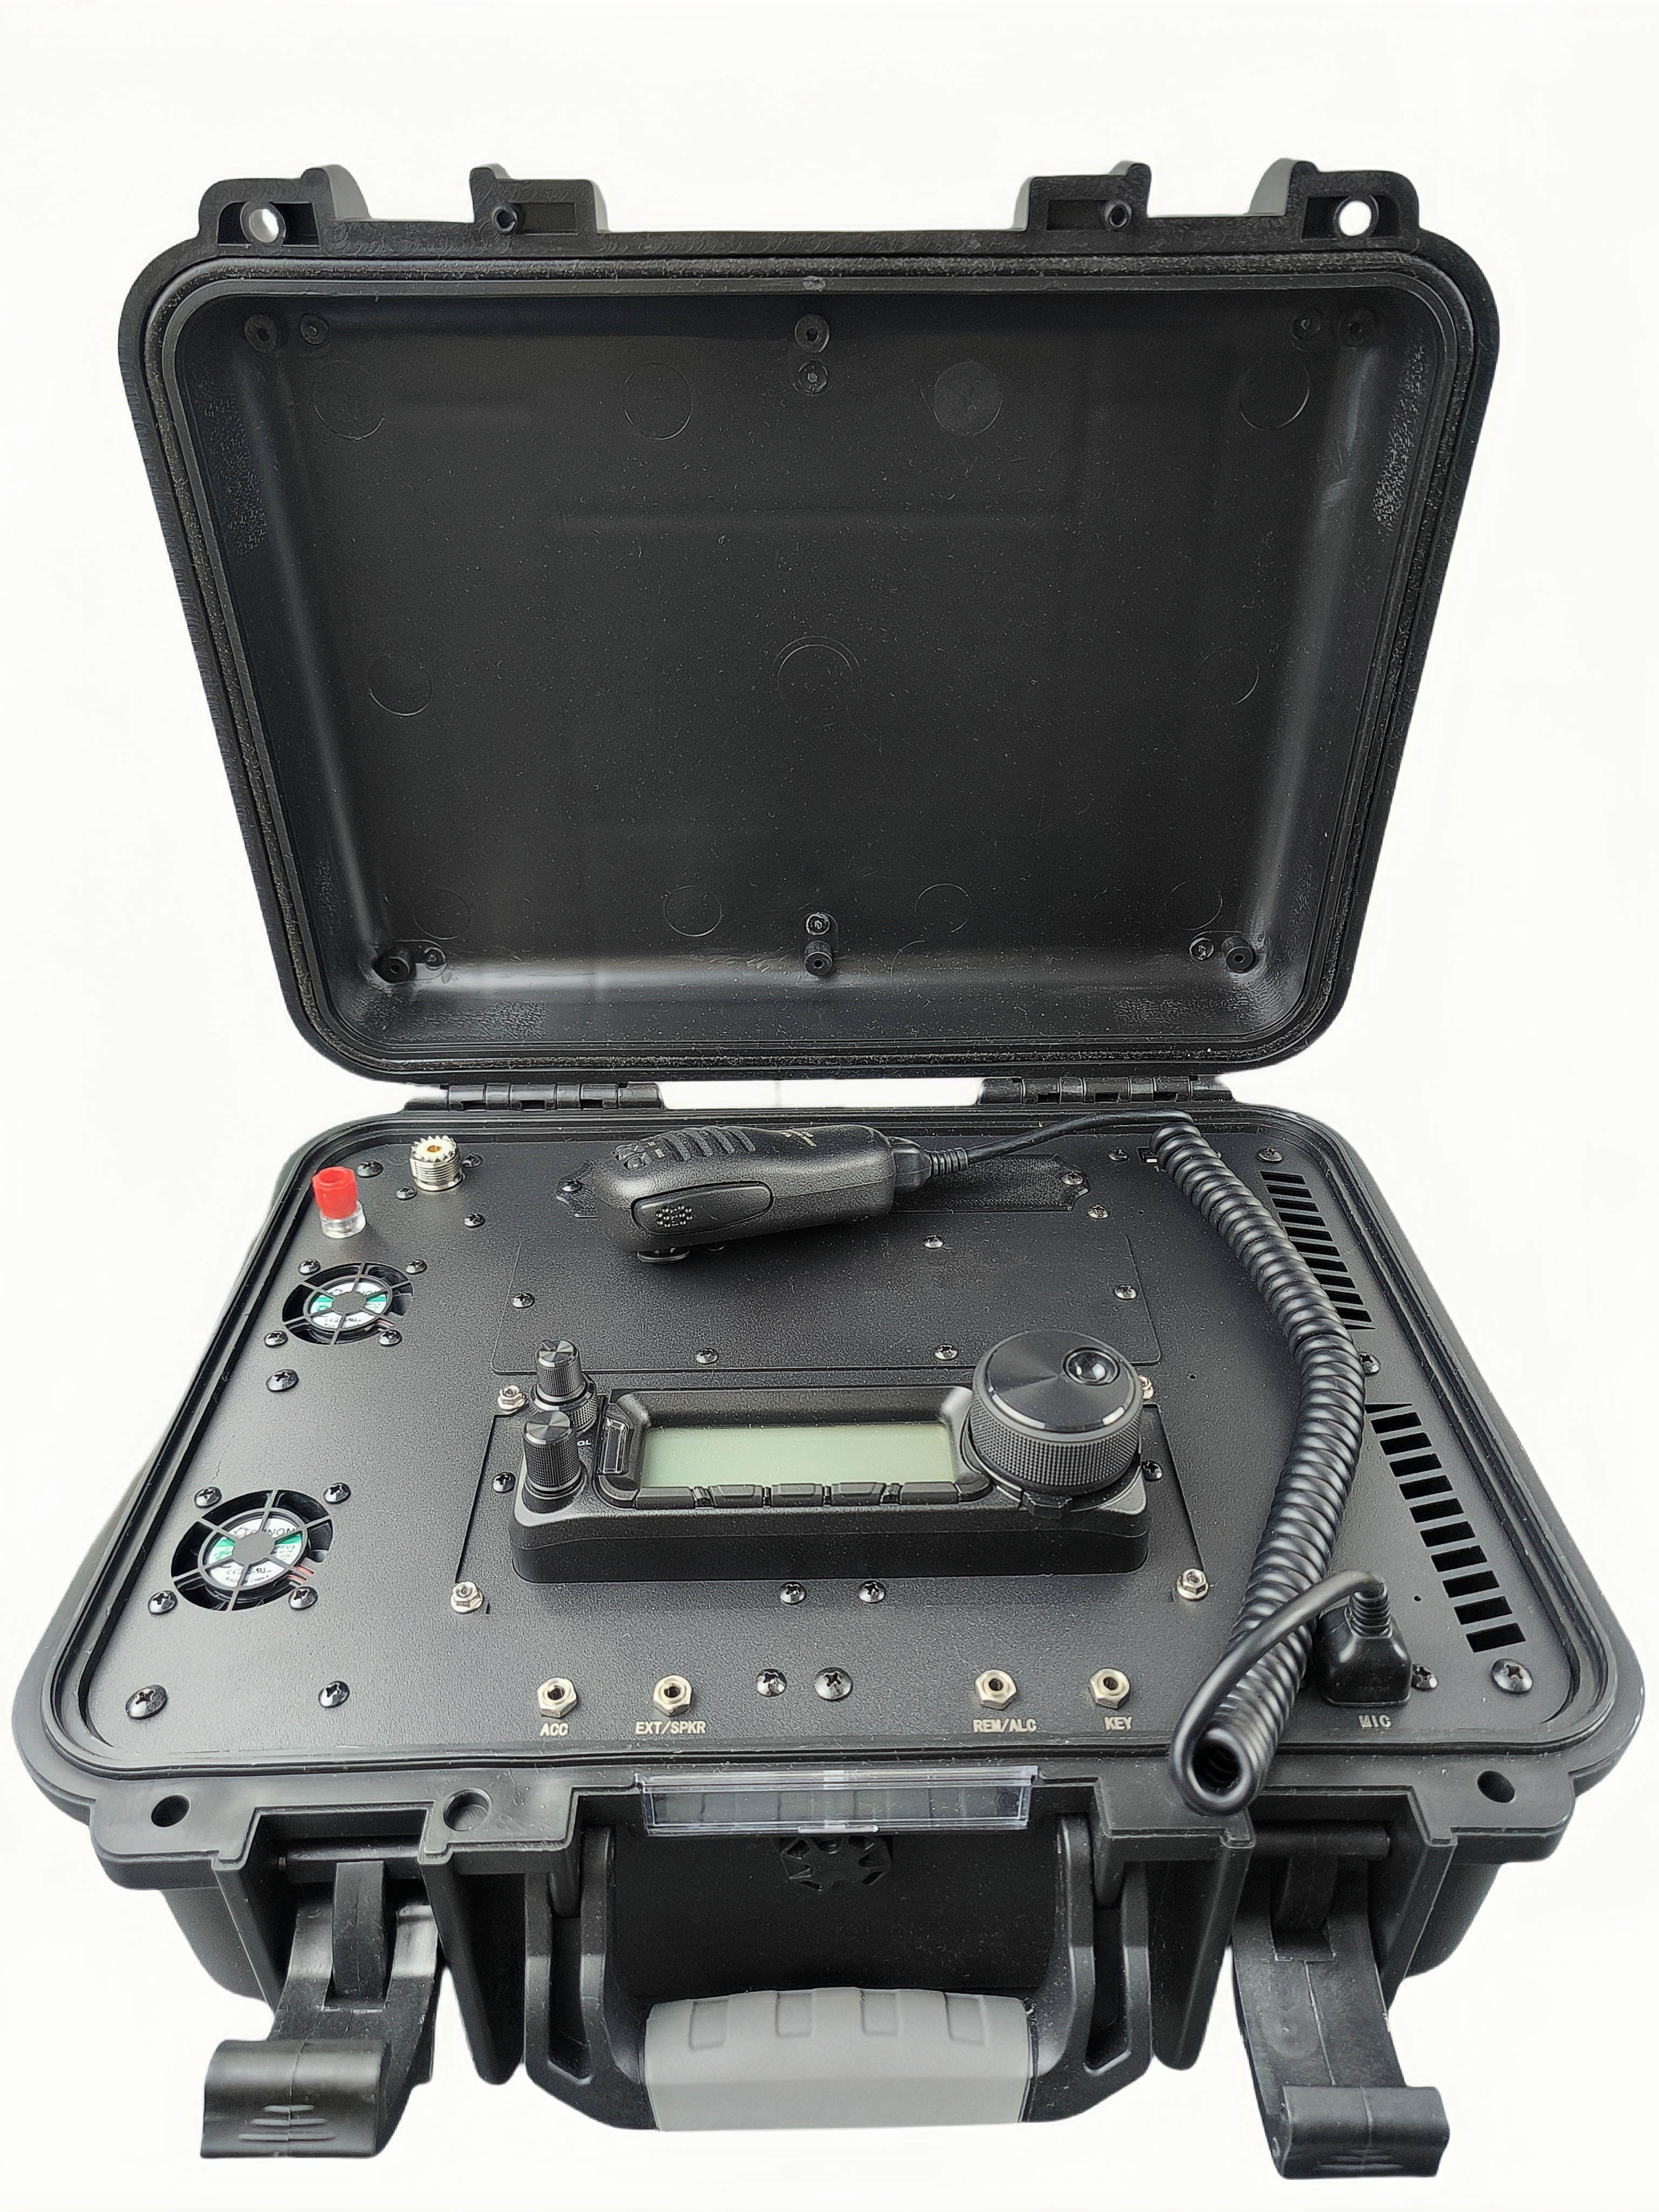
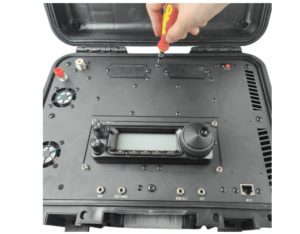
Optimized Control Panel ViewingThe raised, angled front panel offers a clear display and comfortable control position — perfect for sitting on the ground or operating during SOTA activations.
-
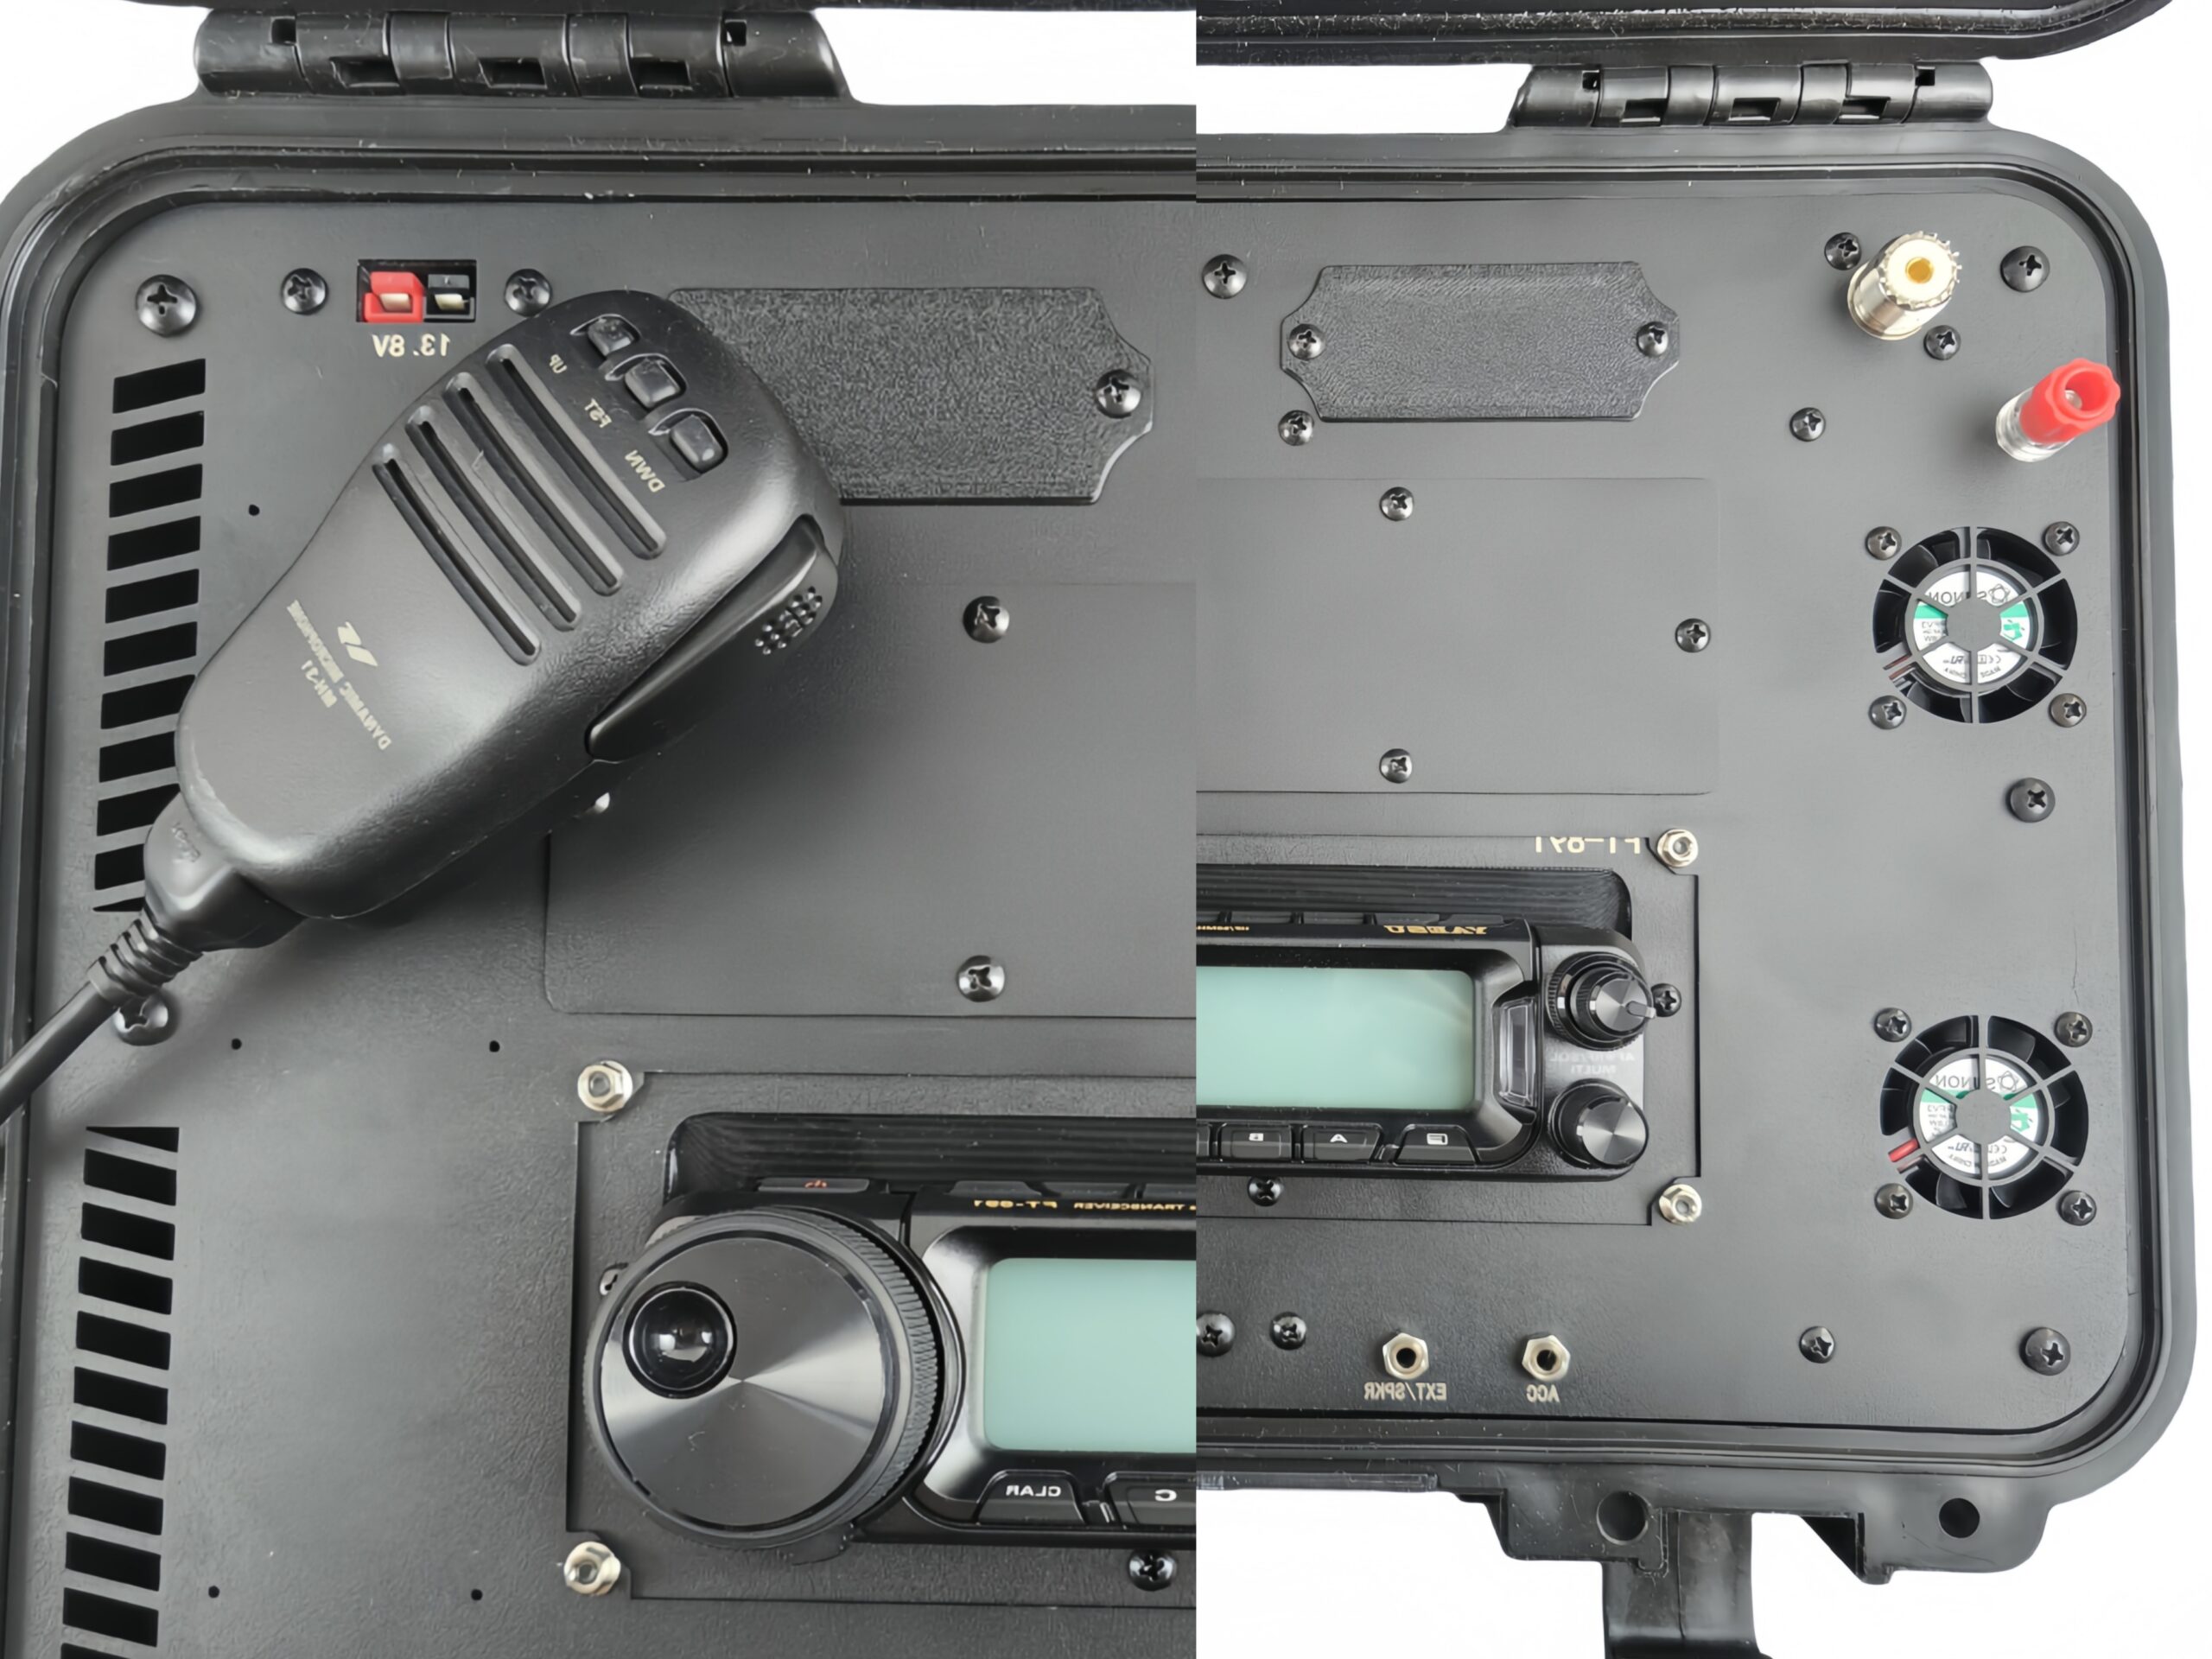
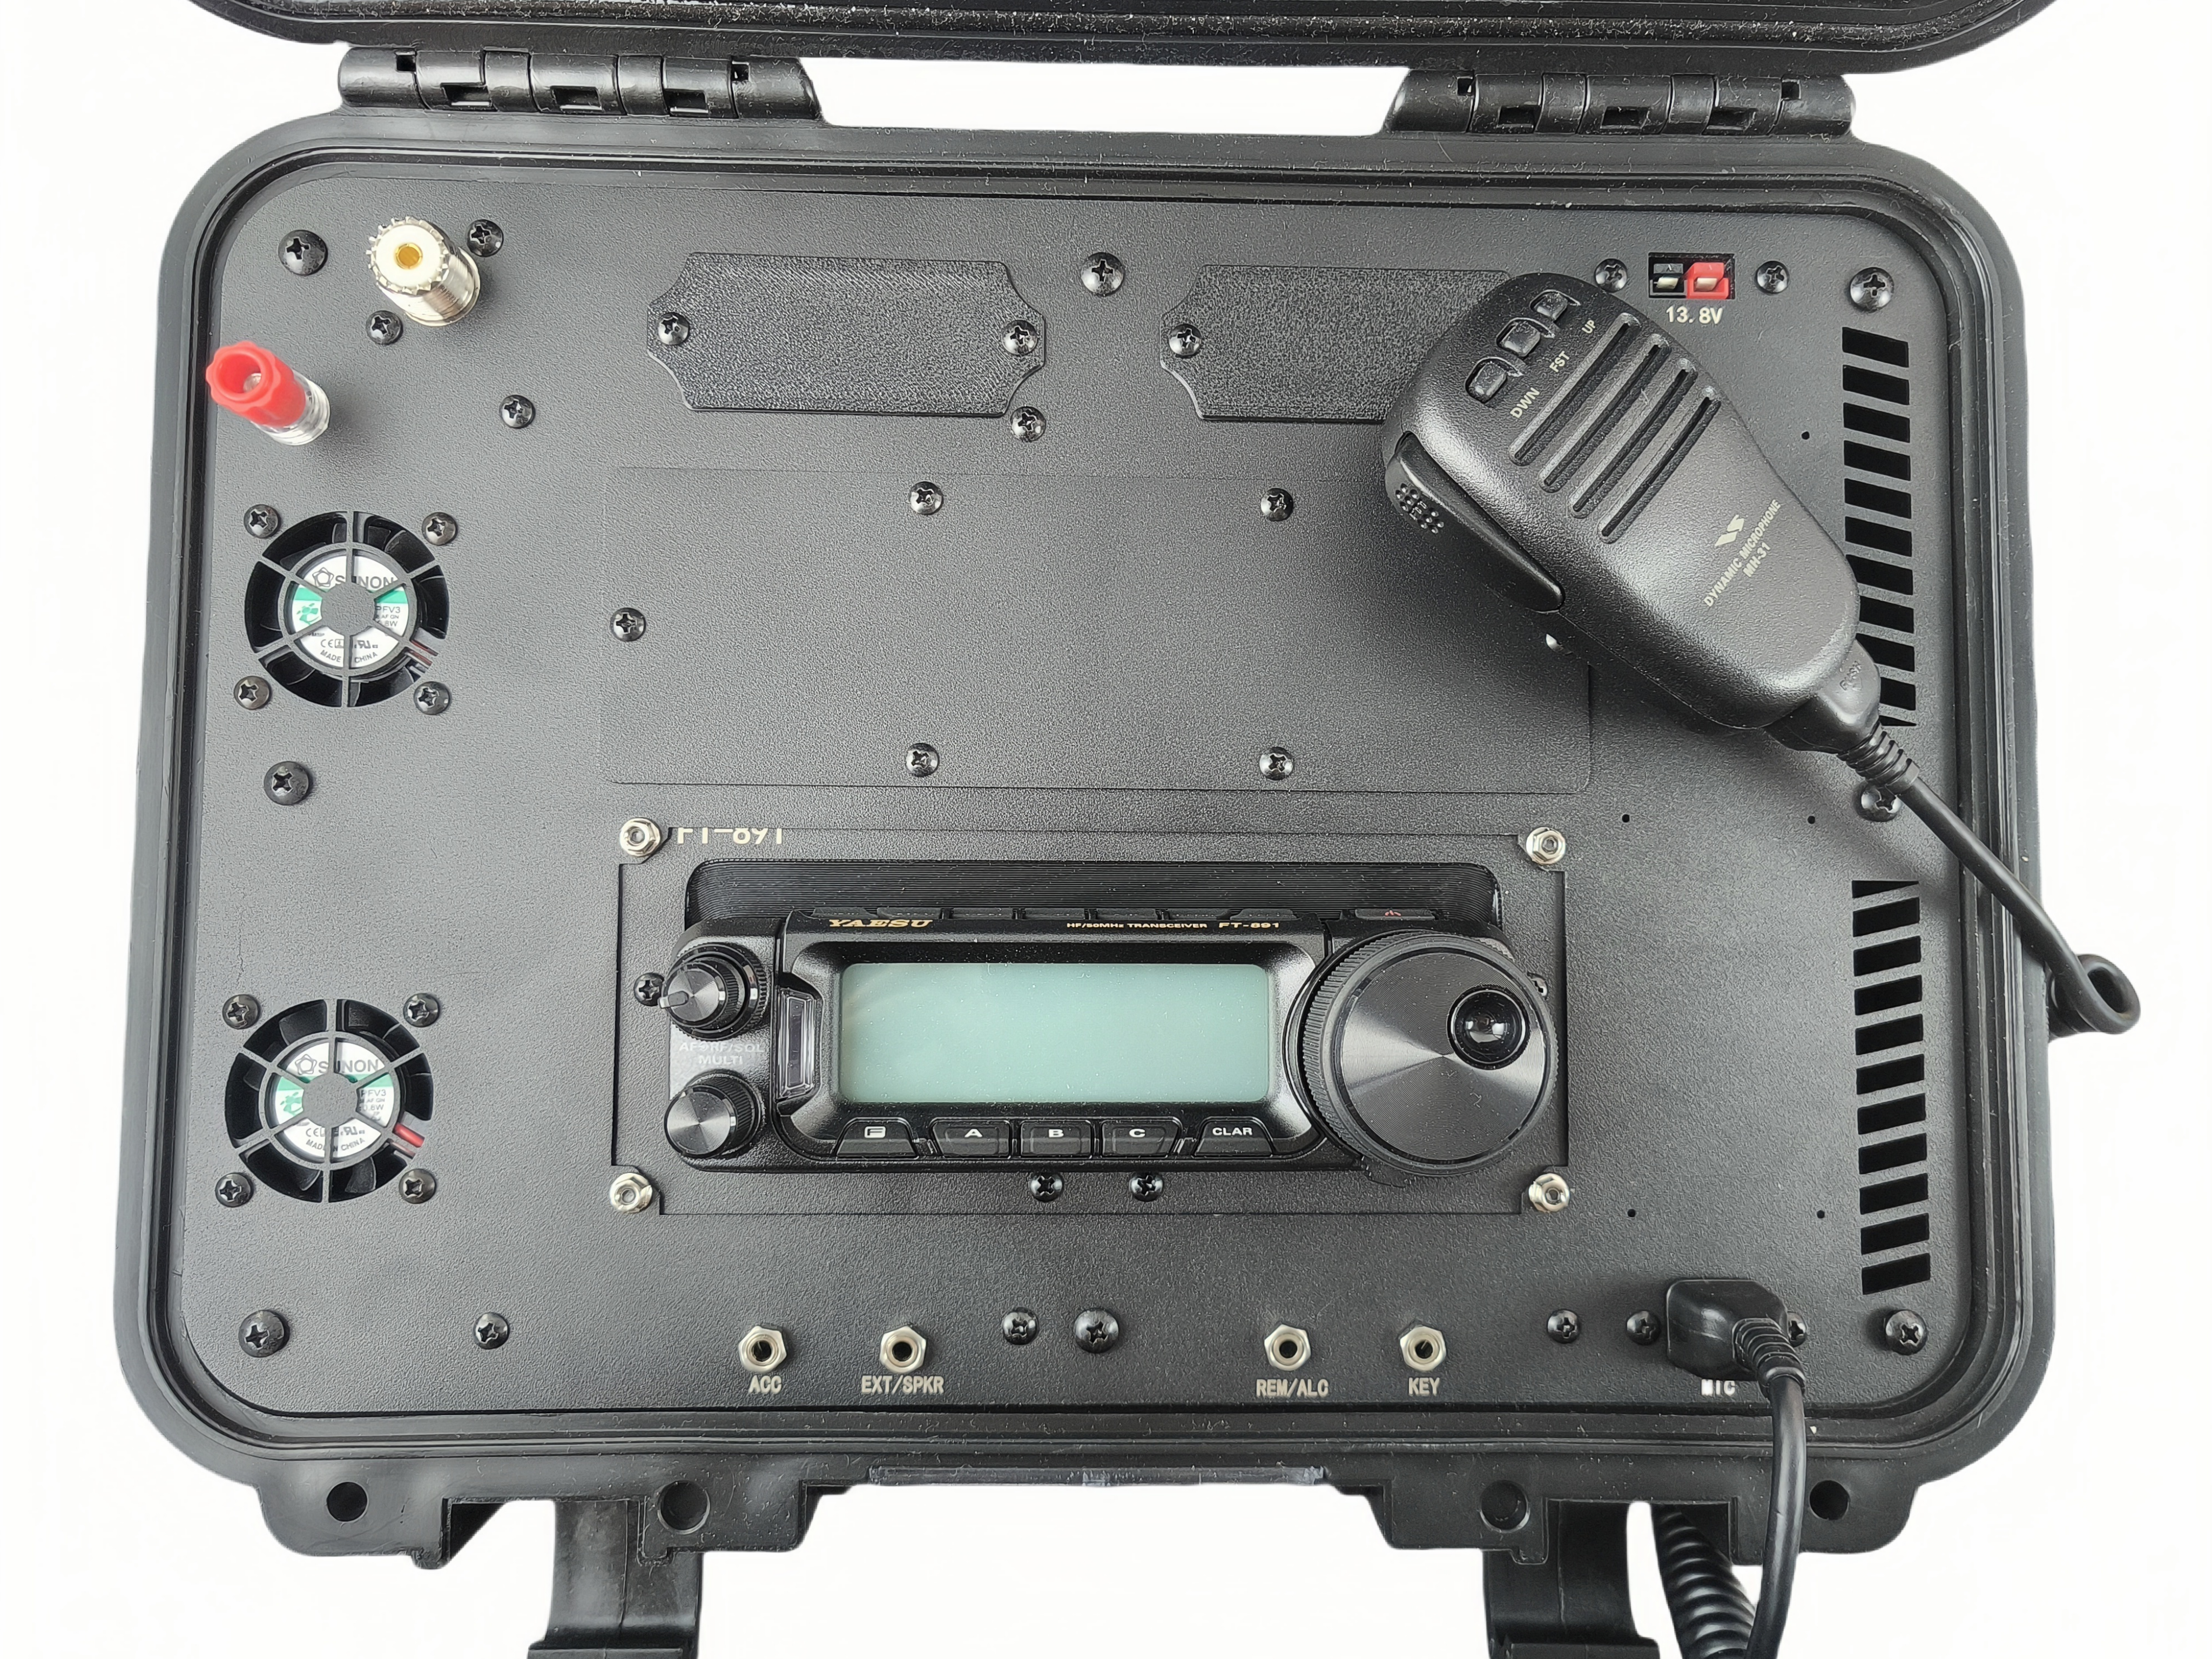
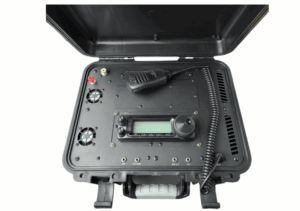
Smart Cable Management & Power IntegrationTop-mounted extension cables protect the microphone, antenna, and other connections from bending or during transport.All key ports — mic, antenna, power, key, and speaker — remain easily accessible without removing the FT-891.Integrated Power Pole connectors allow fast, reliable connection to external batteries or power supplies, ideal for portable field use.
-
Efficient Cooling DesignBuilt-in ventilation openings and a cooling fan maintain steady airflow through the FT-891, preventing overheating and ensuring stable 100 W operation.
-
Built-in Storage CompartmentA lower storage slot provides convenient space for microphones, jumper cables, or small accessories — making field deployment easier and more organized.
-
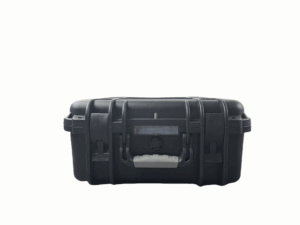
Easy to CarryThe robust, rubberized handle provides a comfortable grip and balanced carrying experience. It folds down for compact storage and effortless transport.
The JNCRADIO JCASE-891 is more than just a protective accessory — it’s a practical upgrade for your Yaesu FT-891. By combining rugged outdoor protection, smart usability, and portable convenience, it ensures your transceiver is always ready to perform — wherever your radio adventure takes you.
Specification
| Model | JNCRADIO JCASE-891 |
| Compatible with | Yaesu FT-891 HF Mobile Transceiver |
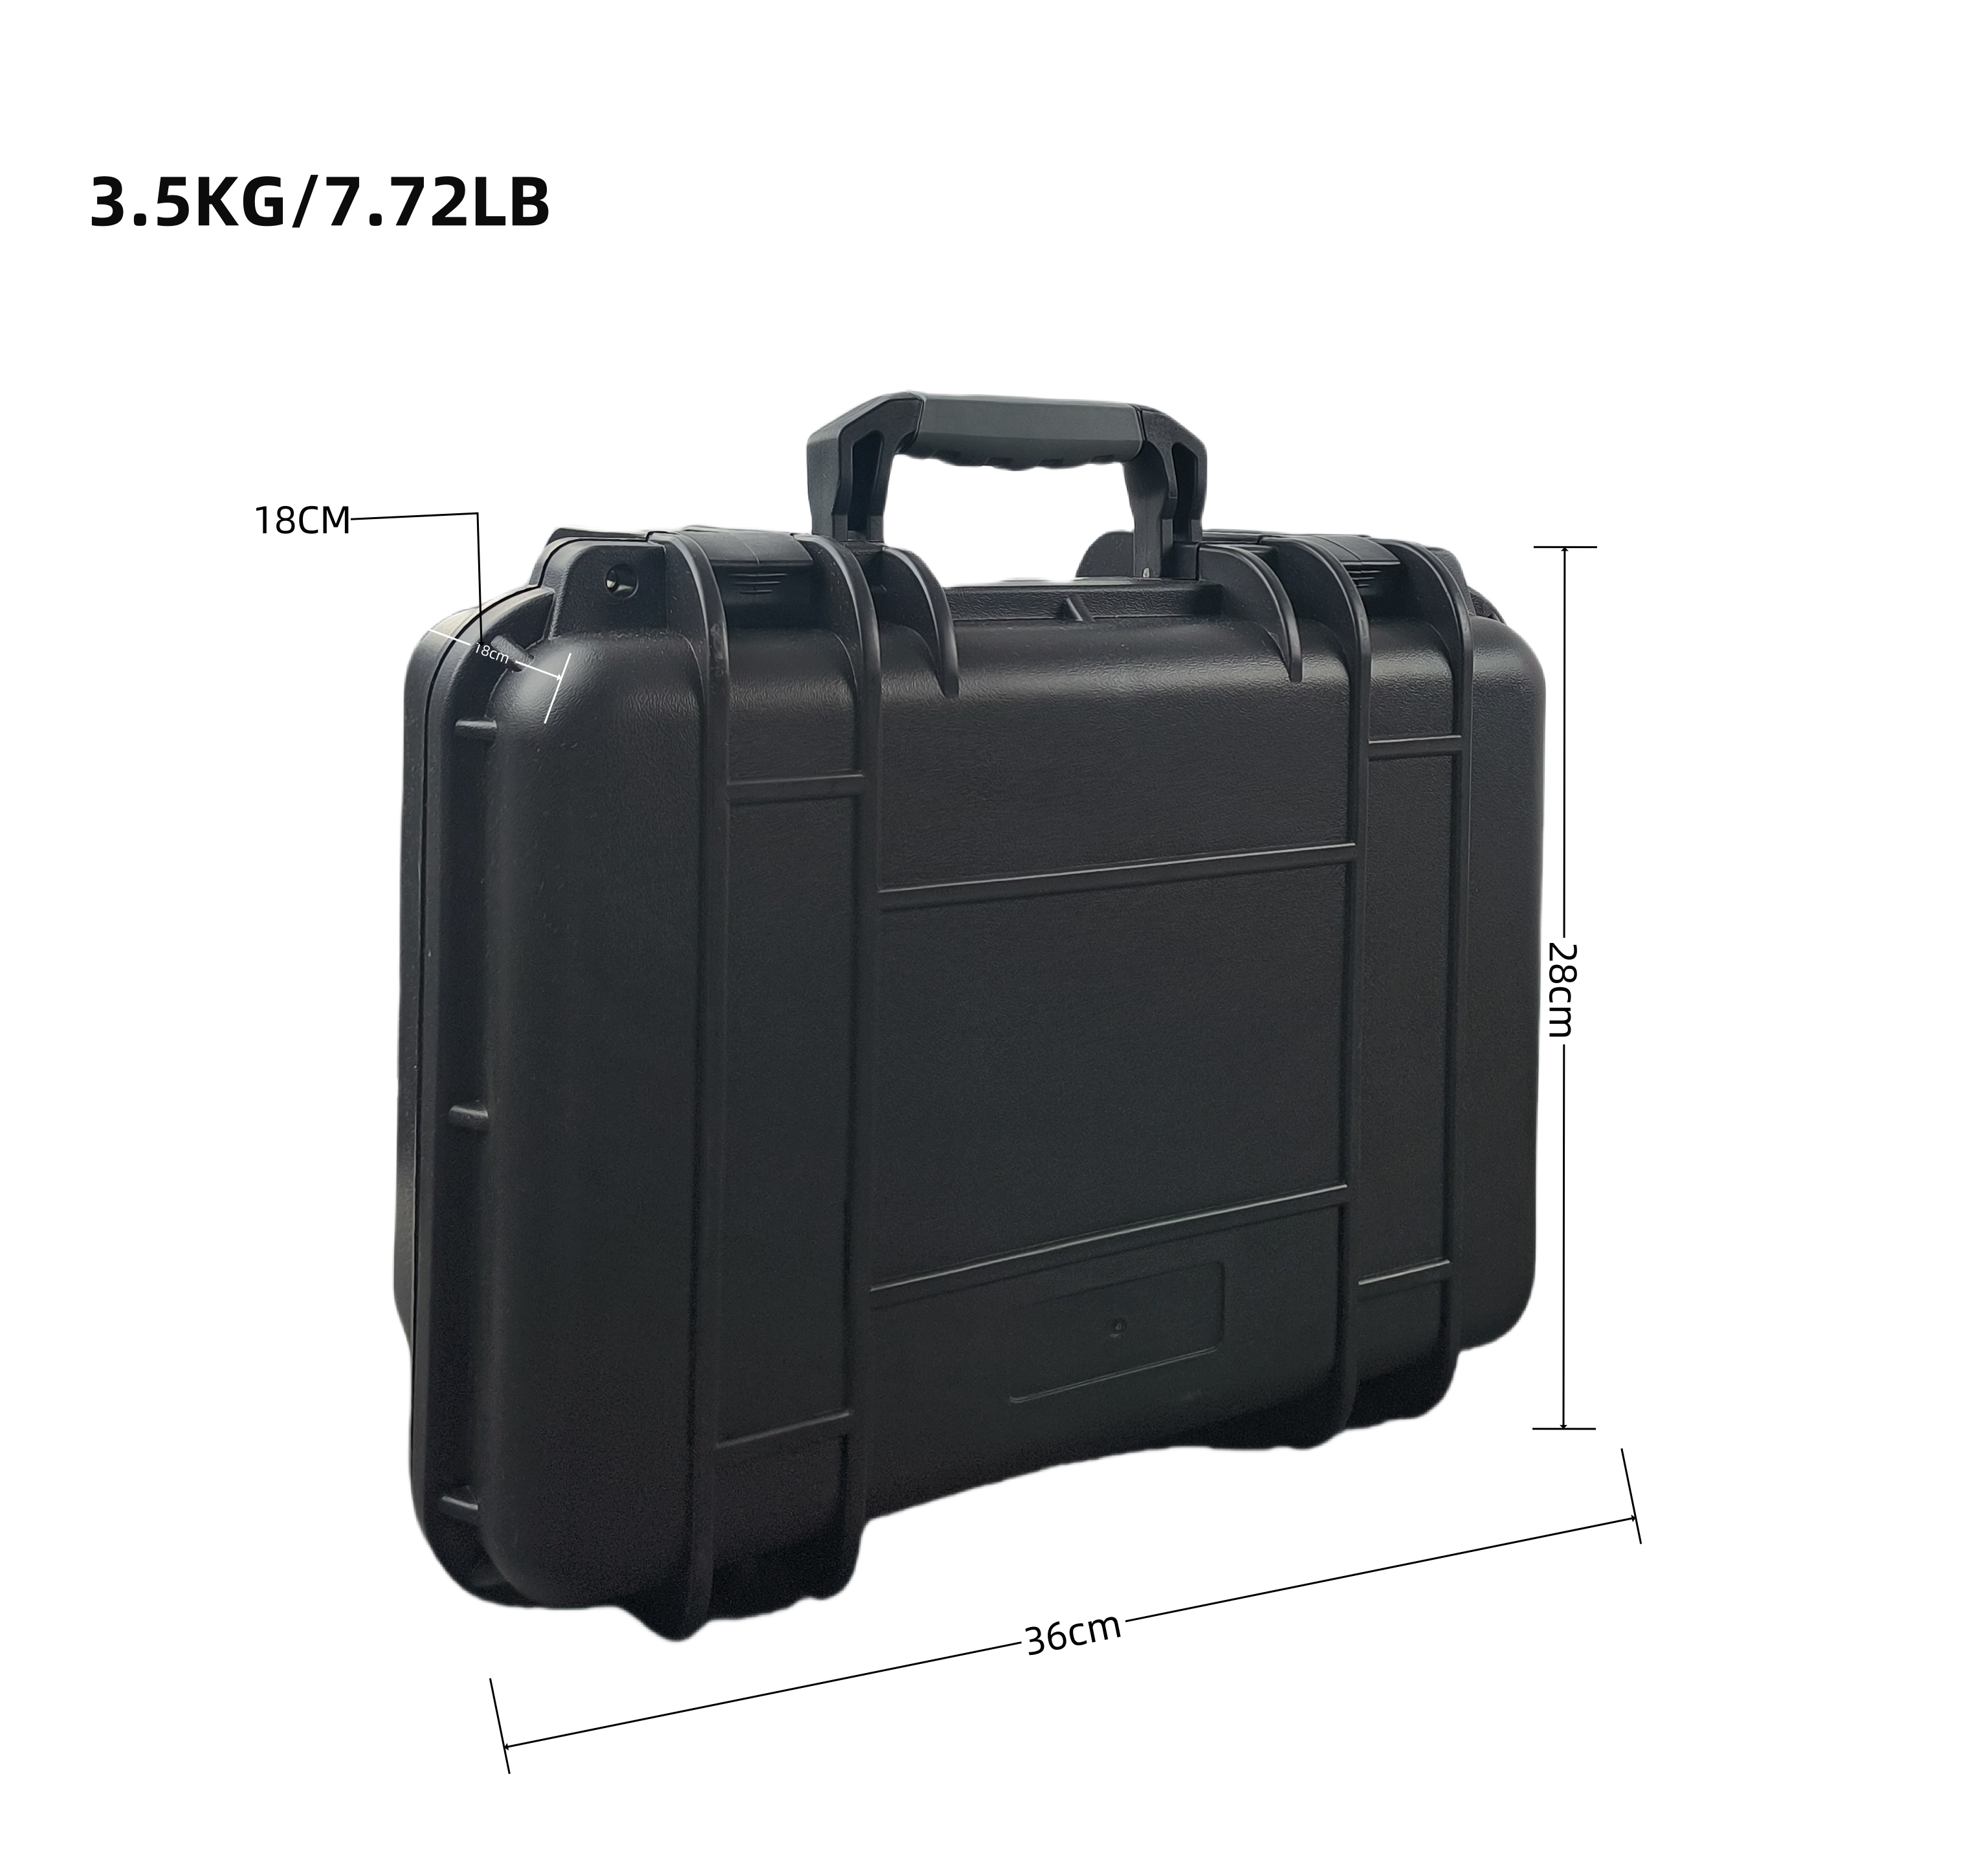
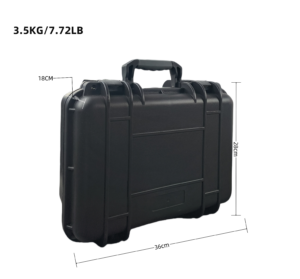
| External Dimensions | 280*360*180mm\11.02*14.17*7.09inch |
| Internal Dimensions | 235*335*105mm\9.25*13.19*4.13inch |
| Weight | 3.5 KG\7.72 LB |
| Mounting System | Integrated aluminum bracket with secure locking mechanism |
| Port Accessibility | Full access to all radio ports and controls inside the case |
| Use Cases | Designed for POTA, SOTA, field ops, and emergency communications |
| Carrying Options | Built-in handle with optional strap mount |
Part List
1×JCase 891
1×891 Specialized Metal Panel
2×Bags of Matching Screws

